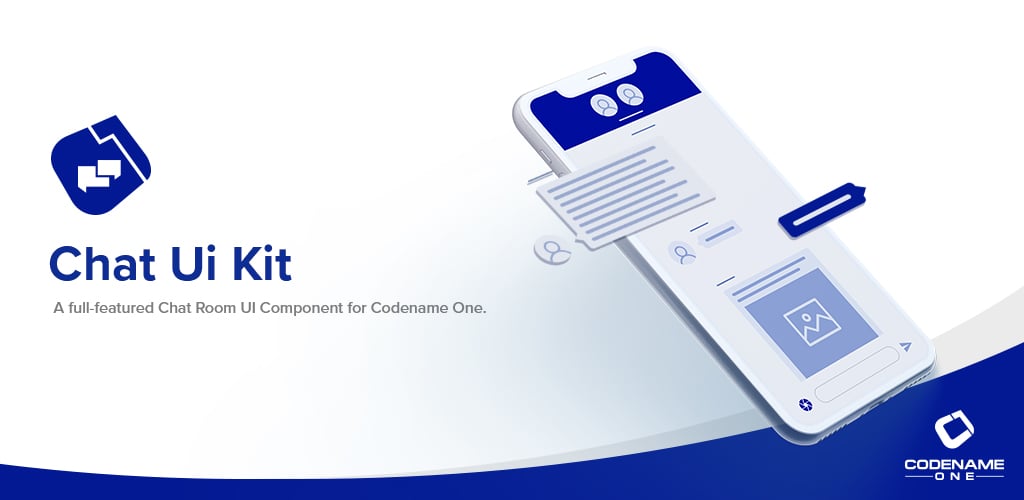
This tutorial describes how to use the RADChatRoom library to quickly and easily add a nice-looking, fully functional chat room to your Codename One application. This is part 1 of a multi-part series of posts over the next few weeks.
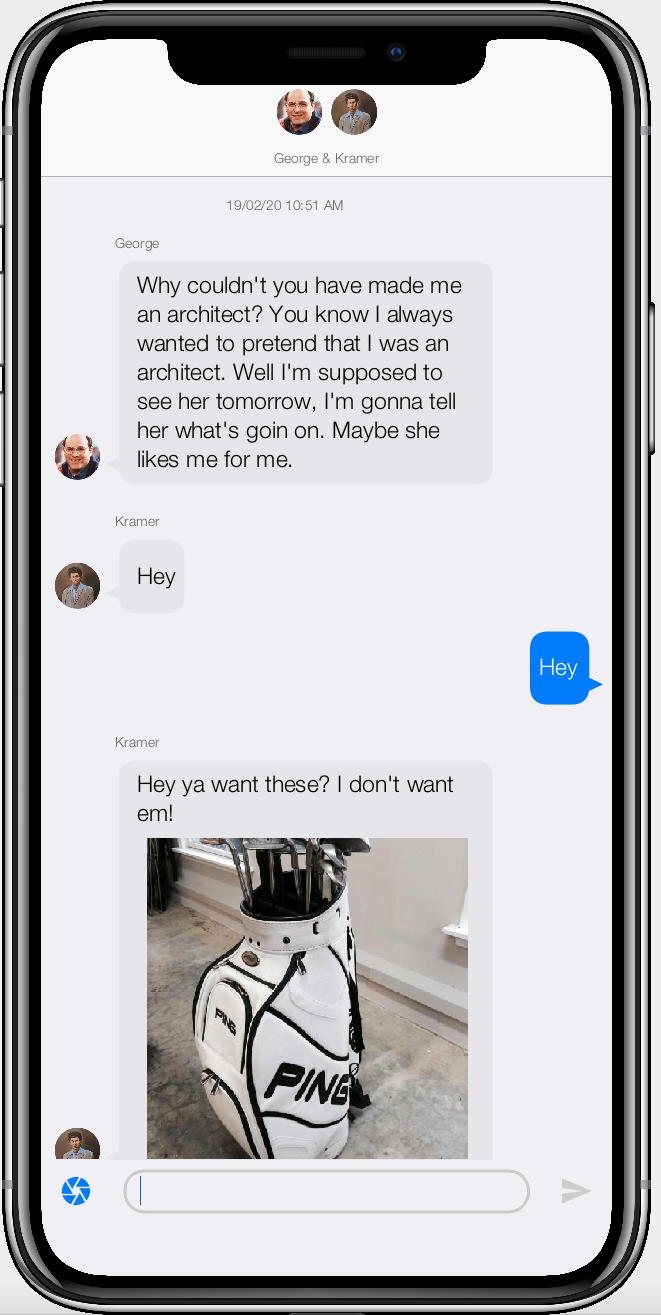
The finished product will look like the following:
You can download the full source of this tutorial’s project here.
You can also try it out yourself here.
| __ | The demo link uses the CodeName One Javascript port, which allows you to deploy Codename One java applications as native Javascript apps inside the browser without any plugins or extensions. When you build a Codename One project for iOS, Android, Desktop, or any of the other build targets, they will be compiled as native apps, with native performance, and will not use Javascript. |
|---|
You may also try out an Android build of this project. For other platforms, you can download the sources and build it yourself.
About the ChatRoomView Component
The ChatRoomView component is the first in a new breed of Codename One UI components which go beyond the fundamental building blocks of user interfaces to provide a rich, fully functional user experience out of the box. It is built on top of the new CodeRAD library which enables a new level of code-reuse based on the tried-and-true MVC (Model-View-Controller) design pattern. As you’ll see, adding a chat feature to your app is not difficult. All of the minutiae of UI details come working and ready to go. You just need to bind it to your view model and controller.
Prerequisites
In order to create the project in this tutorial, you only need one thing:
- IntelliJ, NetBeans, or Eclipse with the Codename One plugin installed.
Project Setup
For this tutorial, we’ll create a basic Codename One project, and we’ll add the “CodeRAD” and “RADChatRoom” cn1libs as dependencies. I’ll use NetBeans in this tutorial, but you can use your preferred IDE (IntelliJ or Eclipse).
For the sake of this tutorial, I’m going to name the project CN1Chat, and my package will be “com.codename1.cn1chat”. I’ll be using the “Hello World” bare-bones project template.
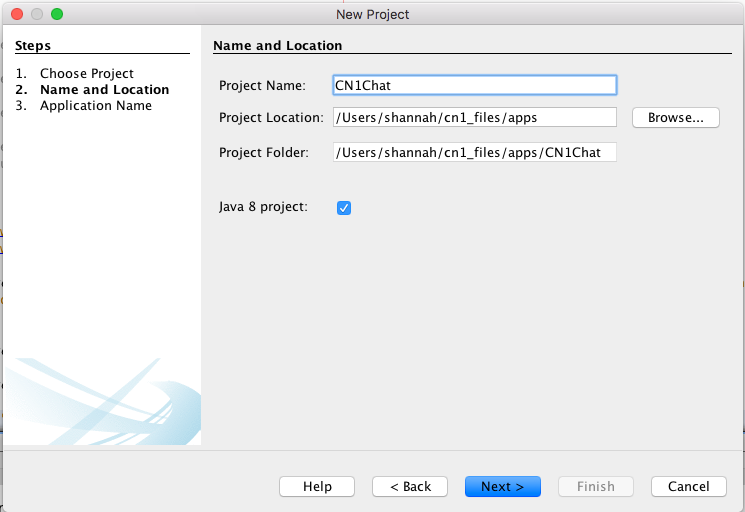
Figure 1. New project dialog in NetBeans
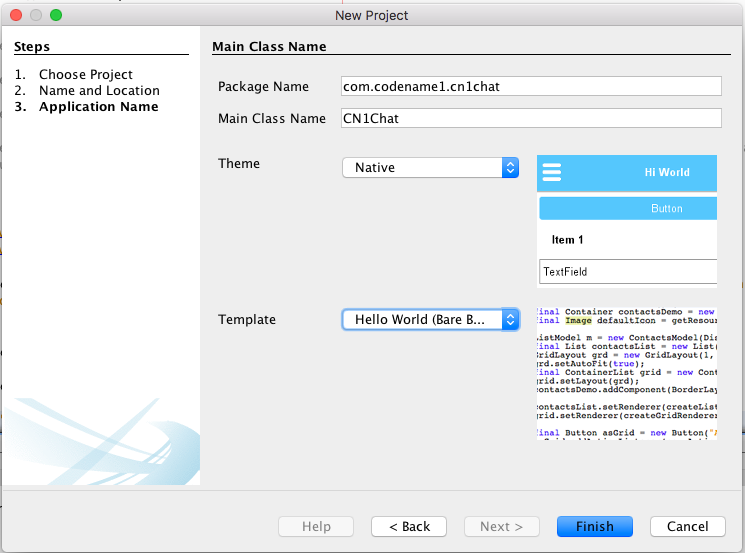
Figure 2. Page 2 of new project wizard in NetBeans
Step 1: Create a New Codename One project
If you haven’t created a Codename One project before, you can refer to this tutorial, which walks you through the creation of your first Codename One project.
Step 2: Activate CSS
The CodeRAD and RADChatRoom libs require CSS to be activated in your project. See this tutorial for the steps on enabling CSS.
Step 3: Add Dependencies
In Codename One settings, add the following cn1libs:
CodeRAD
RADChatRoom
If you haven’t activated any cn1libs before in your Codename One projects, see this tutorial which explains the process.
Step 4: Create Application Controller
We’ll be using MVC for this app. The CodeRAD cn1lib includes a set of controller classes that help with the structure of such apps. We’ll begin by modifying our app’s main application class (CN1Chat.java) so that it extends ApplicationController, and we’ll replace the class contents with the following:
package com.codename1.cn1chat;

import com.codename1.rad.controllers.ApplicationController;
import com.codename1.rad.controllers.ControllerEvent;

public class CN1Chat extends ApplicationController {
     @Override
    public void actionPerformed(ControllerEvent evt) {
        if (evt instanceof StartEvent) {
            evt.consume();

            // The app has started
        }
    }
}
Step 5: Create A Form Controller
Next we’ll create a controller for the form that will contain the chat. This will create a basic view model, and use it to create a ChatRoomView object, which we will add to the form. The code for the first iteration of this controller is as follows:
package com.codename1.cn1chat;

// imports

public class ChatFormController extends FormController {
    public ChatFormController(Controller parent) {
        super(parent);
        Form f = new Form("My First Chat Room", new BorderLayout());
        ChatRoomView view = new ChatRoomView(createViewModel(), f);
        f.add(CENTER, view);
        setView(f);
    }

    /**
     * Creates a view model for the chat room.
     * @return
     */
    private Entity createViewModel() {
        ChatRoomView.ViewModel room = new ChatRoomView.ViewModel();
        ChatBubbleView.ViewModel message = new ChatBubbleView.ViewModel();
        message.messageText("Hello World");
        room.addMessages(message);
        return room;
    }
}
A couple of things to note with this code:
The
createViewModel()method creates a minimal view model for our chat room. It uses theChatRoomView.ViewModelclass for the view model. This class is only a reference implementation of a view model, and theChatRoomViewclass doesn’t require you to use this class at all if you don’t want to. Later on, in this tutorial, I’ll show you how to use your own custom class for the view model.Similarly, the
ChatBubbleView.ViewModelis a reference implementation of a view model to encapsulate a message in the chat room, but you can use your own custom classes for these models also.
Step 6: Show the Form
Finally, we need to show the Chat form when the app launches. Modify your Application controller class to create a new instance of ChatFormController() and show its form as follows:
public class CN1Chat extends ApplicationController {
     @Override
    public void actionPerformed(ControllerEvent evt) {
        if (evt instanceof StartEvent) {
            evt.consume();
            new ChatFormController(this).getView().show();
        }
    }
}
Step 7: Run the App
Now that we have the minimal foundation in place, let’s run the app in the simulator. If everything goes well, you should see something like the following.
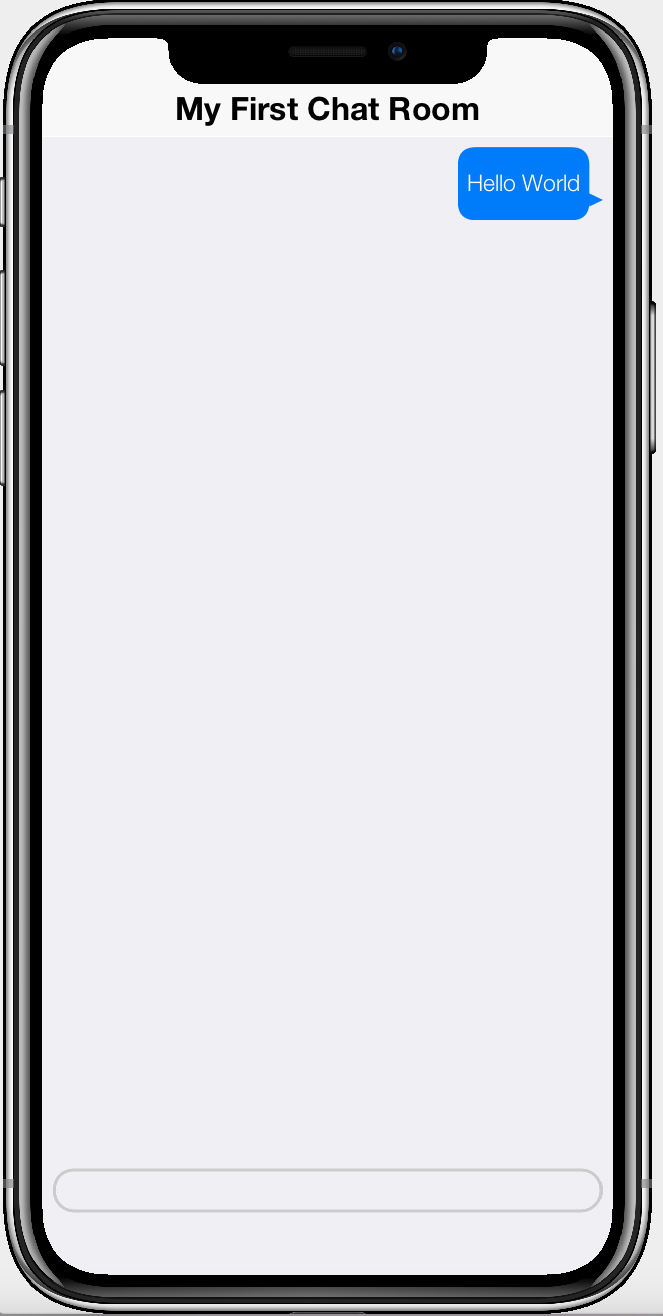
Figure 3. First run of Chat app in simulator
This looks good, but it’s not a fully functional chat app yet. You’ll notice that it is missing many of the features that are present in the screenshot I shared of the finished project. The finished project included a title component with avatars of the chat participants:

Figure 4. Chat participants listed in title bar in finished version of the app
This is absent because we didn’t add any participants to the chat model.
In addition, there is no “Send” button, in this version, so there is no apparent way to send messages in this chat.
We’ll correct both of these omissions, and add some other features over the course of this tutorial.
Next Week
Next week we’ll continue by adding a send button and building from there.
Discussion
Join the conversation via GitHub Discussions.