One Codebase, Multiple Apps
Rapid cross-platform app development using Java or Kotlin with 100% code reuse. Apps are compiled down to native code for maximum performance and a smooth user experience.
Learn about the ArchitectureWrite Once, Run Anywhere
An open-source mobile first toolkit for building high quality, cross-platform native apps for Android, iOS, Desktop and Web.
Trusted by 40k+ developers

Rapid cross-platform app development using Java or Kotlin with 100% code reuse. Apps are compiled down to native code for maximum performance and a smooth user experience.
Learn about the ArchitectureWrite, debug, and test apps all inside your IDE (IntelliJ, Eclipse, VSCode or NetBeans) using the Codename One simulator.
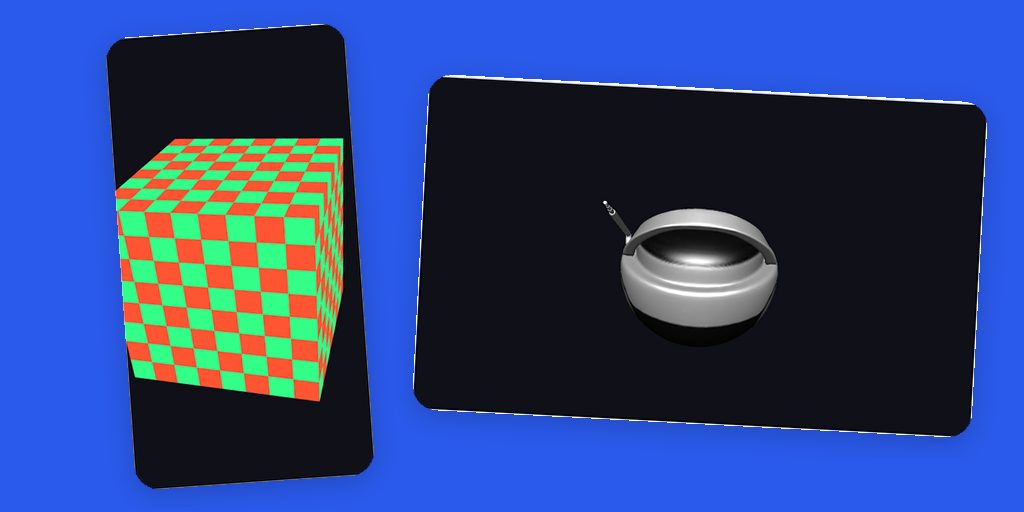
Learn about the Development EnvironmentBuild beautiful UI with Codename One's rich set of widgets. Native look and feel out of the box, but fully themeable using CSS.
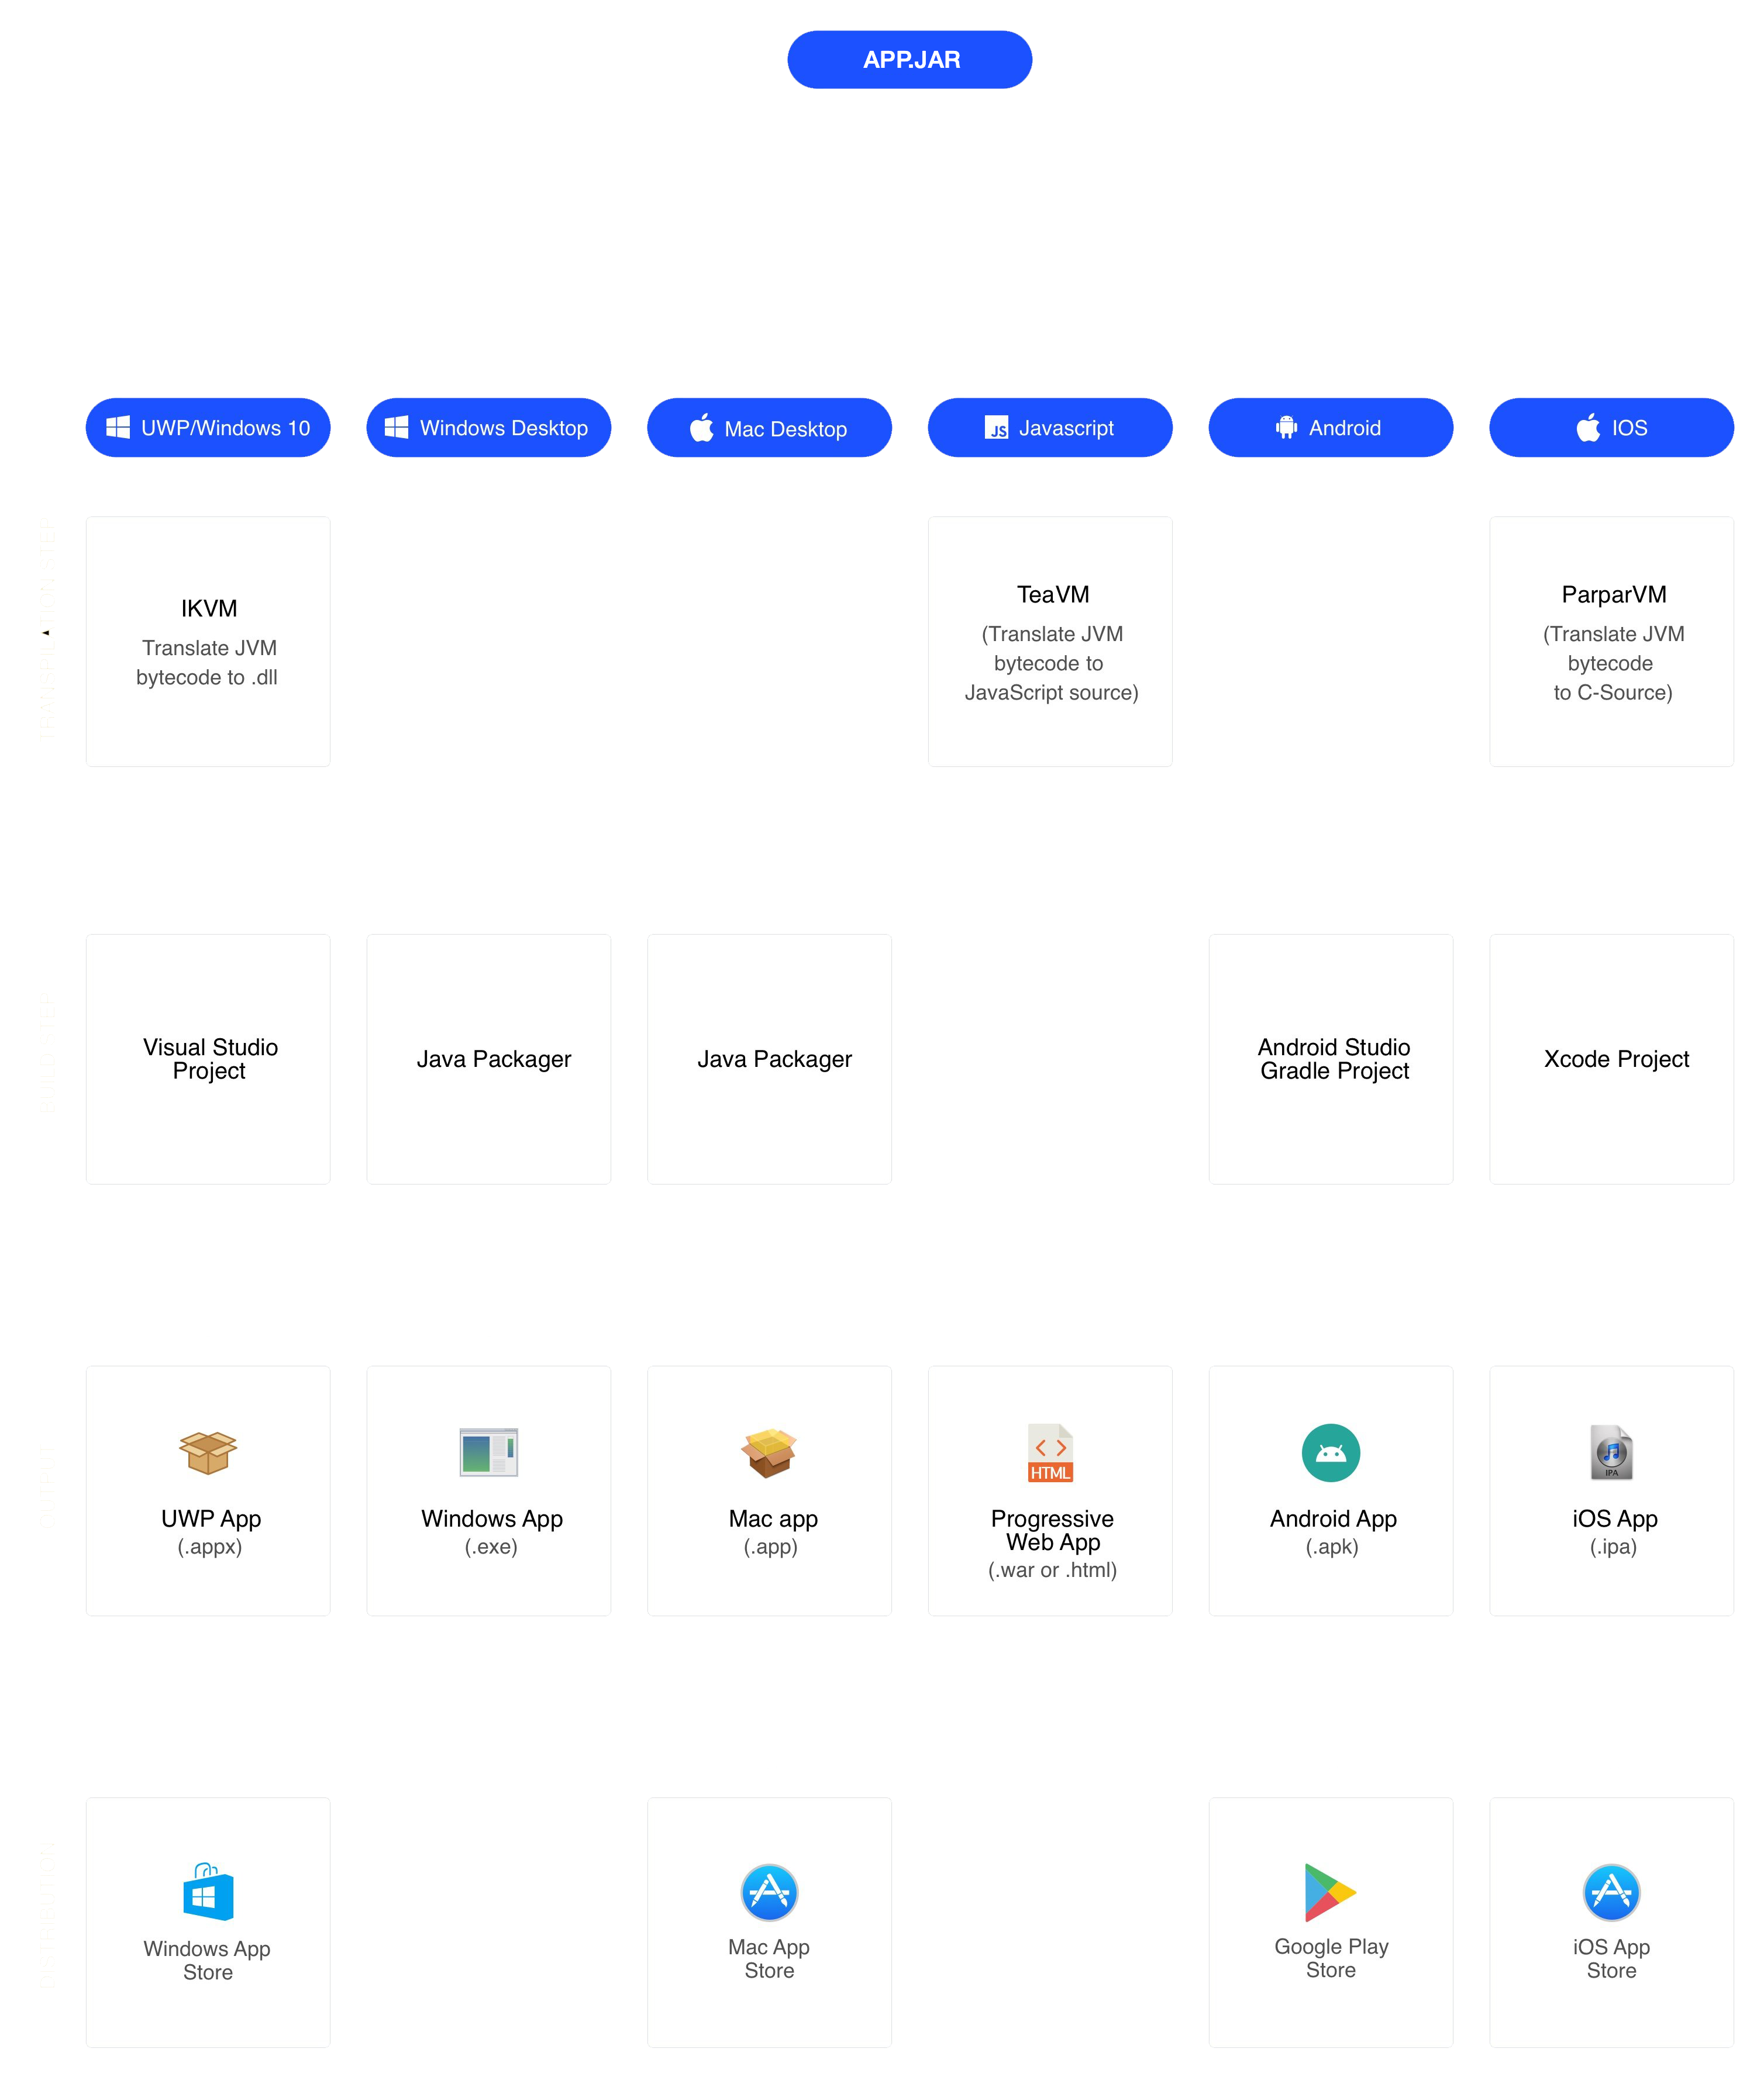
Compiles Java or Kotlin into native code for iOS, Android, desktop and JavaScript.
Easily extendable with a rich ecosystem of native and generic add-on libraries developed by Codename One and the community.
Changes in your Java or Kotlin code are applied immediately to your already-running app in the simulator.
When you make changes to your app CSS stylesheet, changes are reflected instantly in the simulator.
~180M apps installed across platforms and ~40k developers. Version 1.0 was released in 2012.
The core of Codename One is free and open source (GPL + CE), so it is free to use with commercial projects.
Codename One is a toolkit that allows you to easily build beautiful cross-platform apps targeting iOS, Android, and the web using Java or Kotlin.
A cross-platform runtime library tailored to mobile app development.
Tools that convert JVM bytecode into platform-native executables via the cloud build service.
A rich ecosystem of community and official add-on libraries.
Light-weight cross-platform UI components designed for mobile apps.
Drag-and-drop UI builder for rapid visual layout authoring.
Build app-store ready binaries without maintaining local native toolchains.
Run and debug the app instantly from your IDE.
Codename One apps compile to native targets, not just wrapped web content.
Unlike some other toolkits that merely provide bindings to native components and APIs, Codename One's UI component library is light-weight and truly cross-platform. This provides 100% code reuse across platforms, not only for business logic, but for the UI also.
Yes. You can mix native widgets and lightweight widgets seamlessly.
Yes. Access both system APIs and third-party native frameworks.
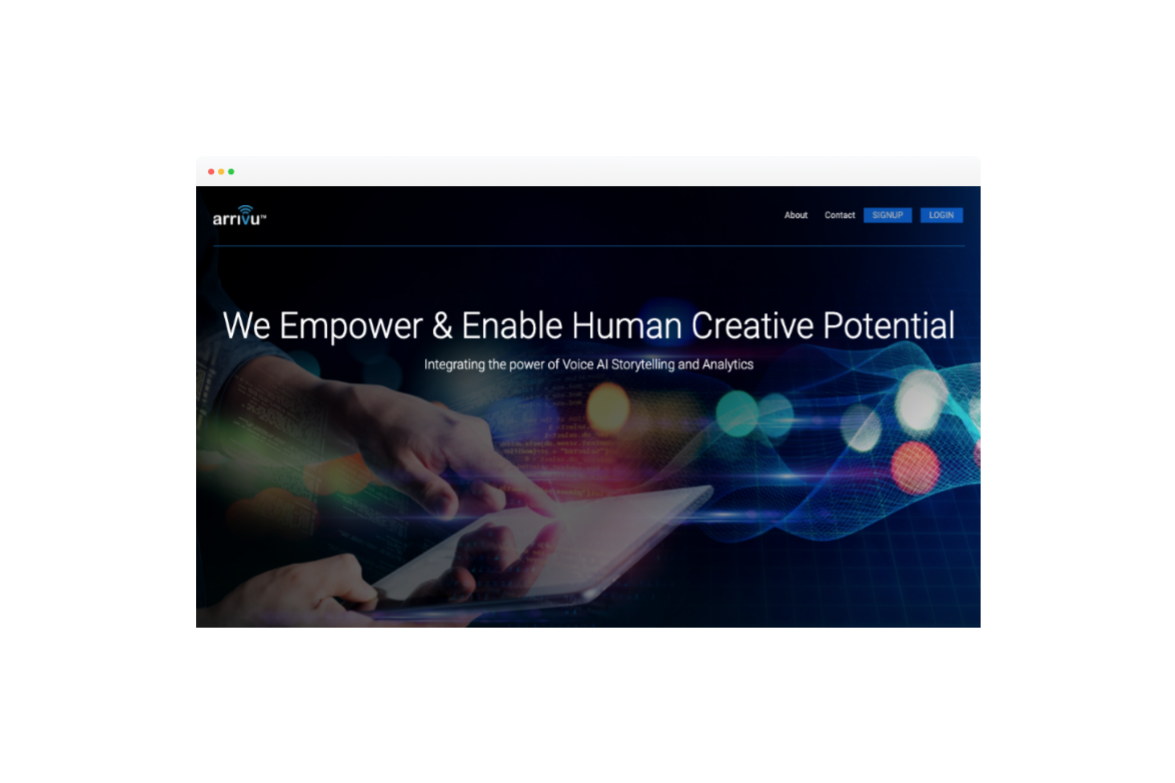
Voice/AI technology solutions.
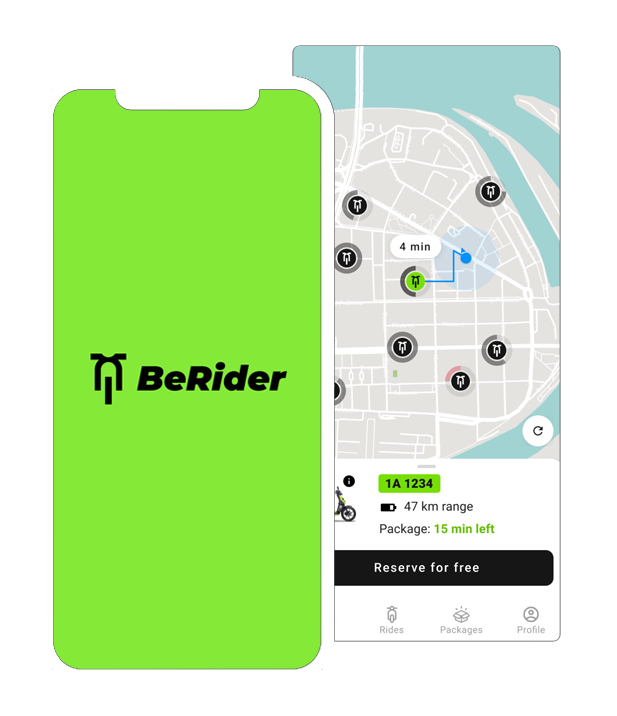
Shared electric scooters in Prague.
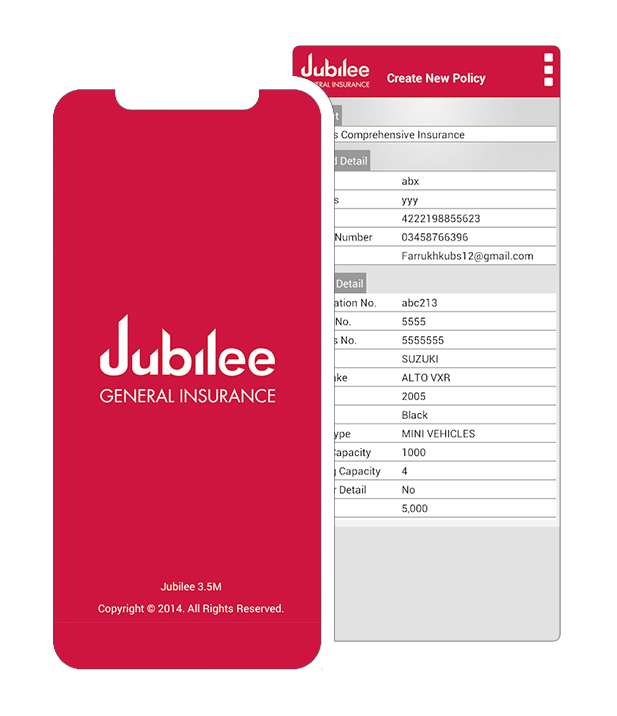
Car insurance app by Jubilee General Insurance.
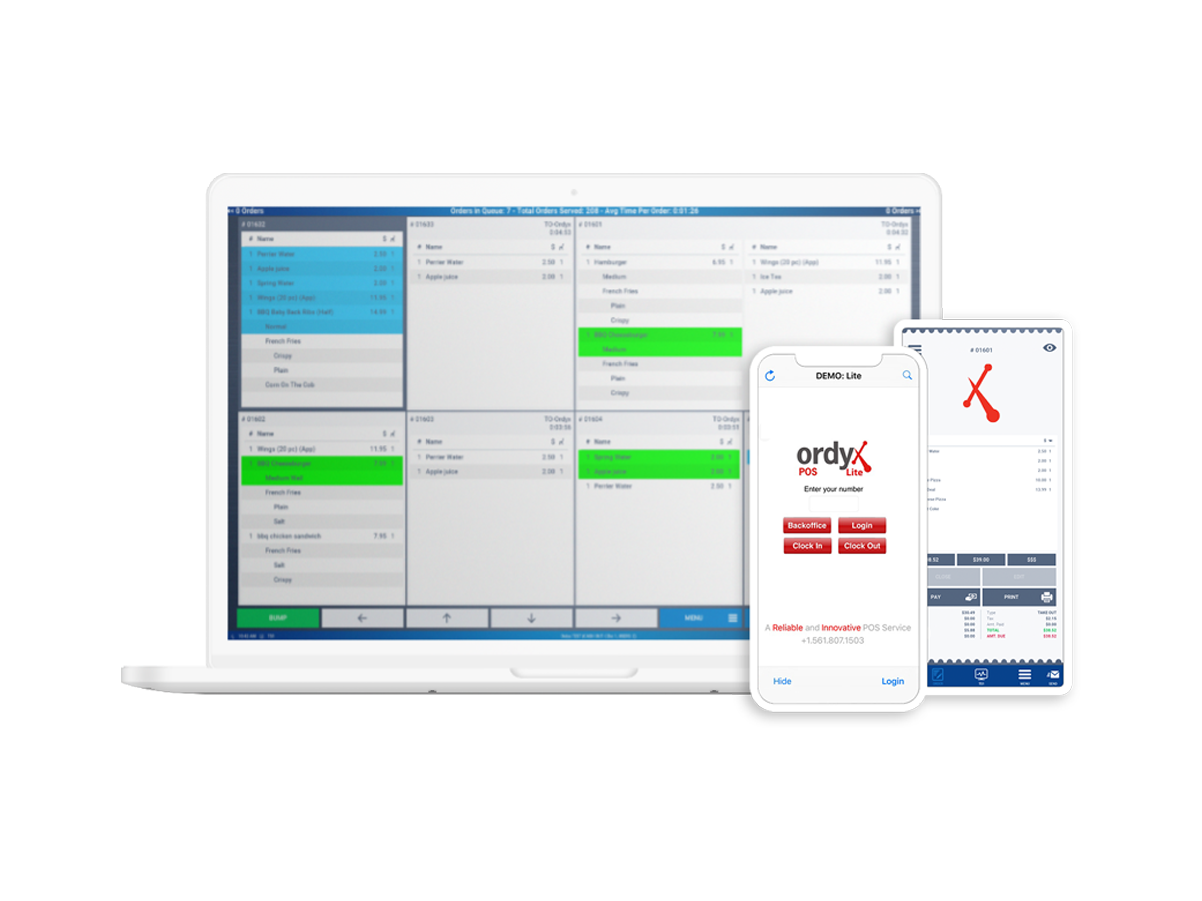
Restaurant point-of-sale and operations platform.

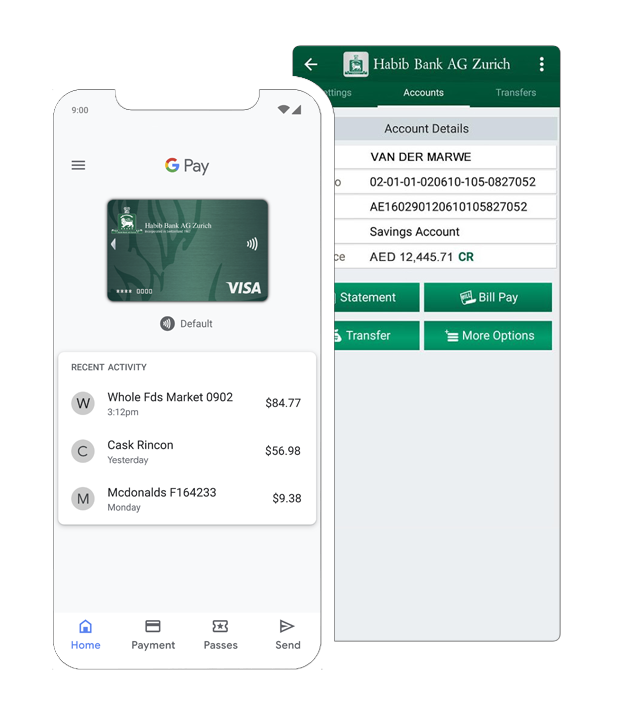
Telecom self-service app for customer accounts.
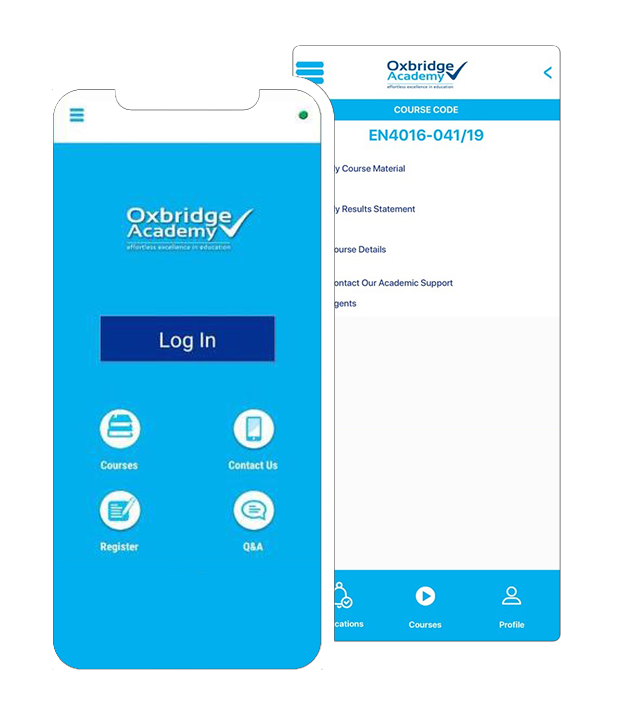
Student learning and campus engagement app.
Community and member services mobile experience.
Education app helping students track assignments.

"Affordable cross-platform toolchain that works!" "Easy extension with third-party libraries, active developer support and attractive pricing..."

SMash ICT Solutions/Senior Engineer at Sioux, Netherlands
"Over 2 million active installations" "[A] mature, solid and reliable platform. It allows you to concentrate [on] developing your app, not platform specific implementations..."

CEO and Founder of MathUnderground, Israel
"I would advise to all developers to try it out today!" "Easy extension with third-party libraries, active developer support and attractive pricing..."

CTO at BOi Global Group, South Africa
"Going from design to working app is a breeze" "Codename One greatly reduced our development time and costs, while giving us the ability to deliver a custom experience in each platform when needed."

Senior Developer at Pmovil, Brazil
"a true write once run anywhere solution!" "Codename One has proven to be a productive tool for us - a true write once run anywhere solution!"

Chemetall, Italy
"Simply a great framework!" "[We had] some non conventional requirements and Codename One gave us good answers for all the challenges that we faced during app development."

Sócio Proprietário, Brazil
"Fast and efficient" "Fast and efficient way to eliminate the hassle of targeting multiple platforms without resorting to HTML5!"

Vision24, South Africa
"I utilize my Java knowledge to deliver native apps" "I can deliver native apps for both platforms from a single codebase in half the time, at half the cost, with no need to hire anyone."

Developer, Taiwan