From zero to a native build
Create the project.
Run it. Build for iOS.
Initializr generates a Maven project you can open in IntelliJ IDEA, NetBeans, Eclipse, or VS Code. Run the simulator locally, then use the cloud service to build for a device.
The free tier includes 100 free cloud build credits each month. An iOS build uses 8 credits.
- A supported JDK and Maven
- A Maven-capable IDE
- A free Codename One account for cloud builds
Generate
Create a Java project with Initializr.
Choose the Java template, enter the group and artifact names, and download the generated Maven project. Unpack it into a normal source directory, not a temporary download folder.
Open Initializr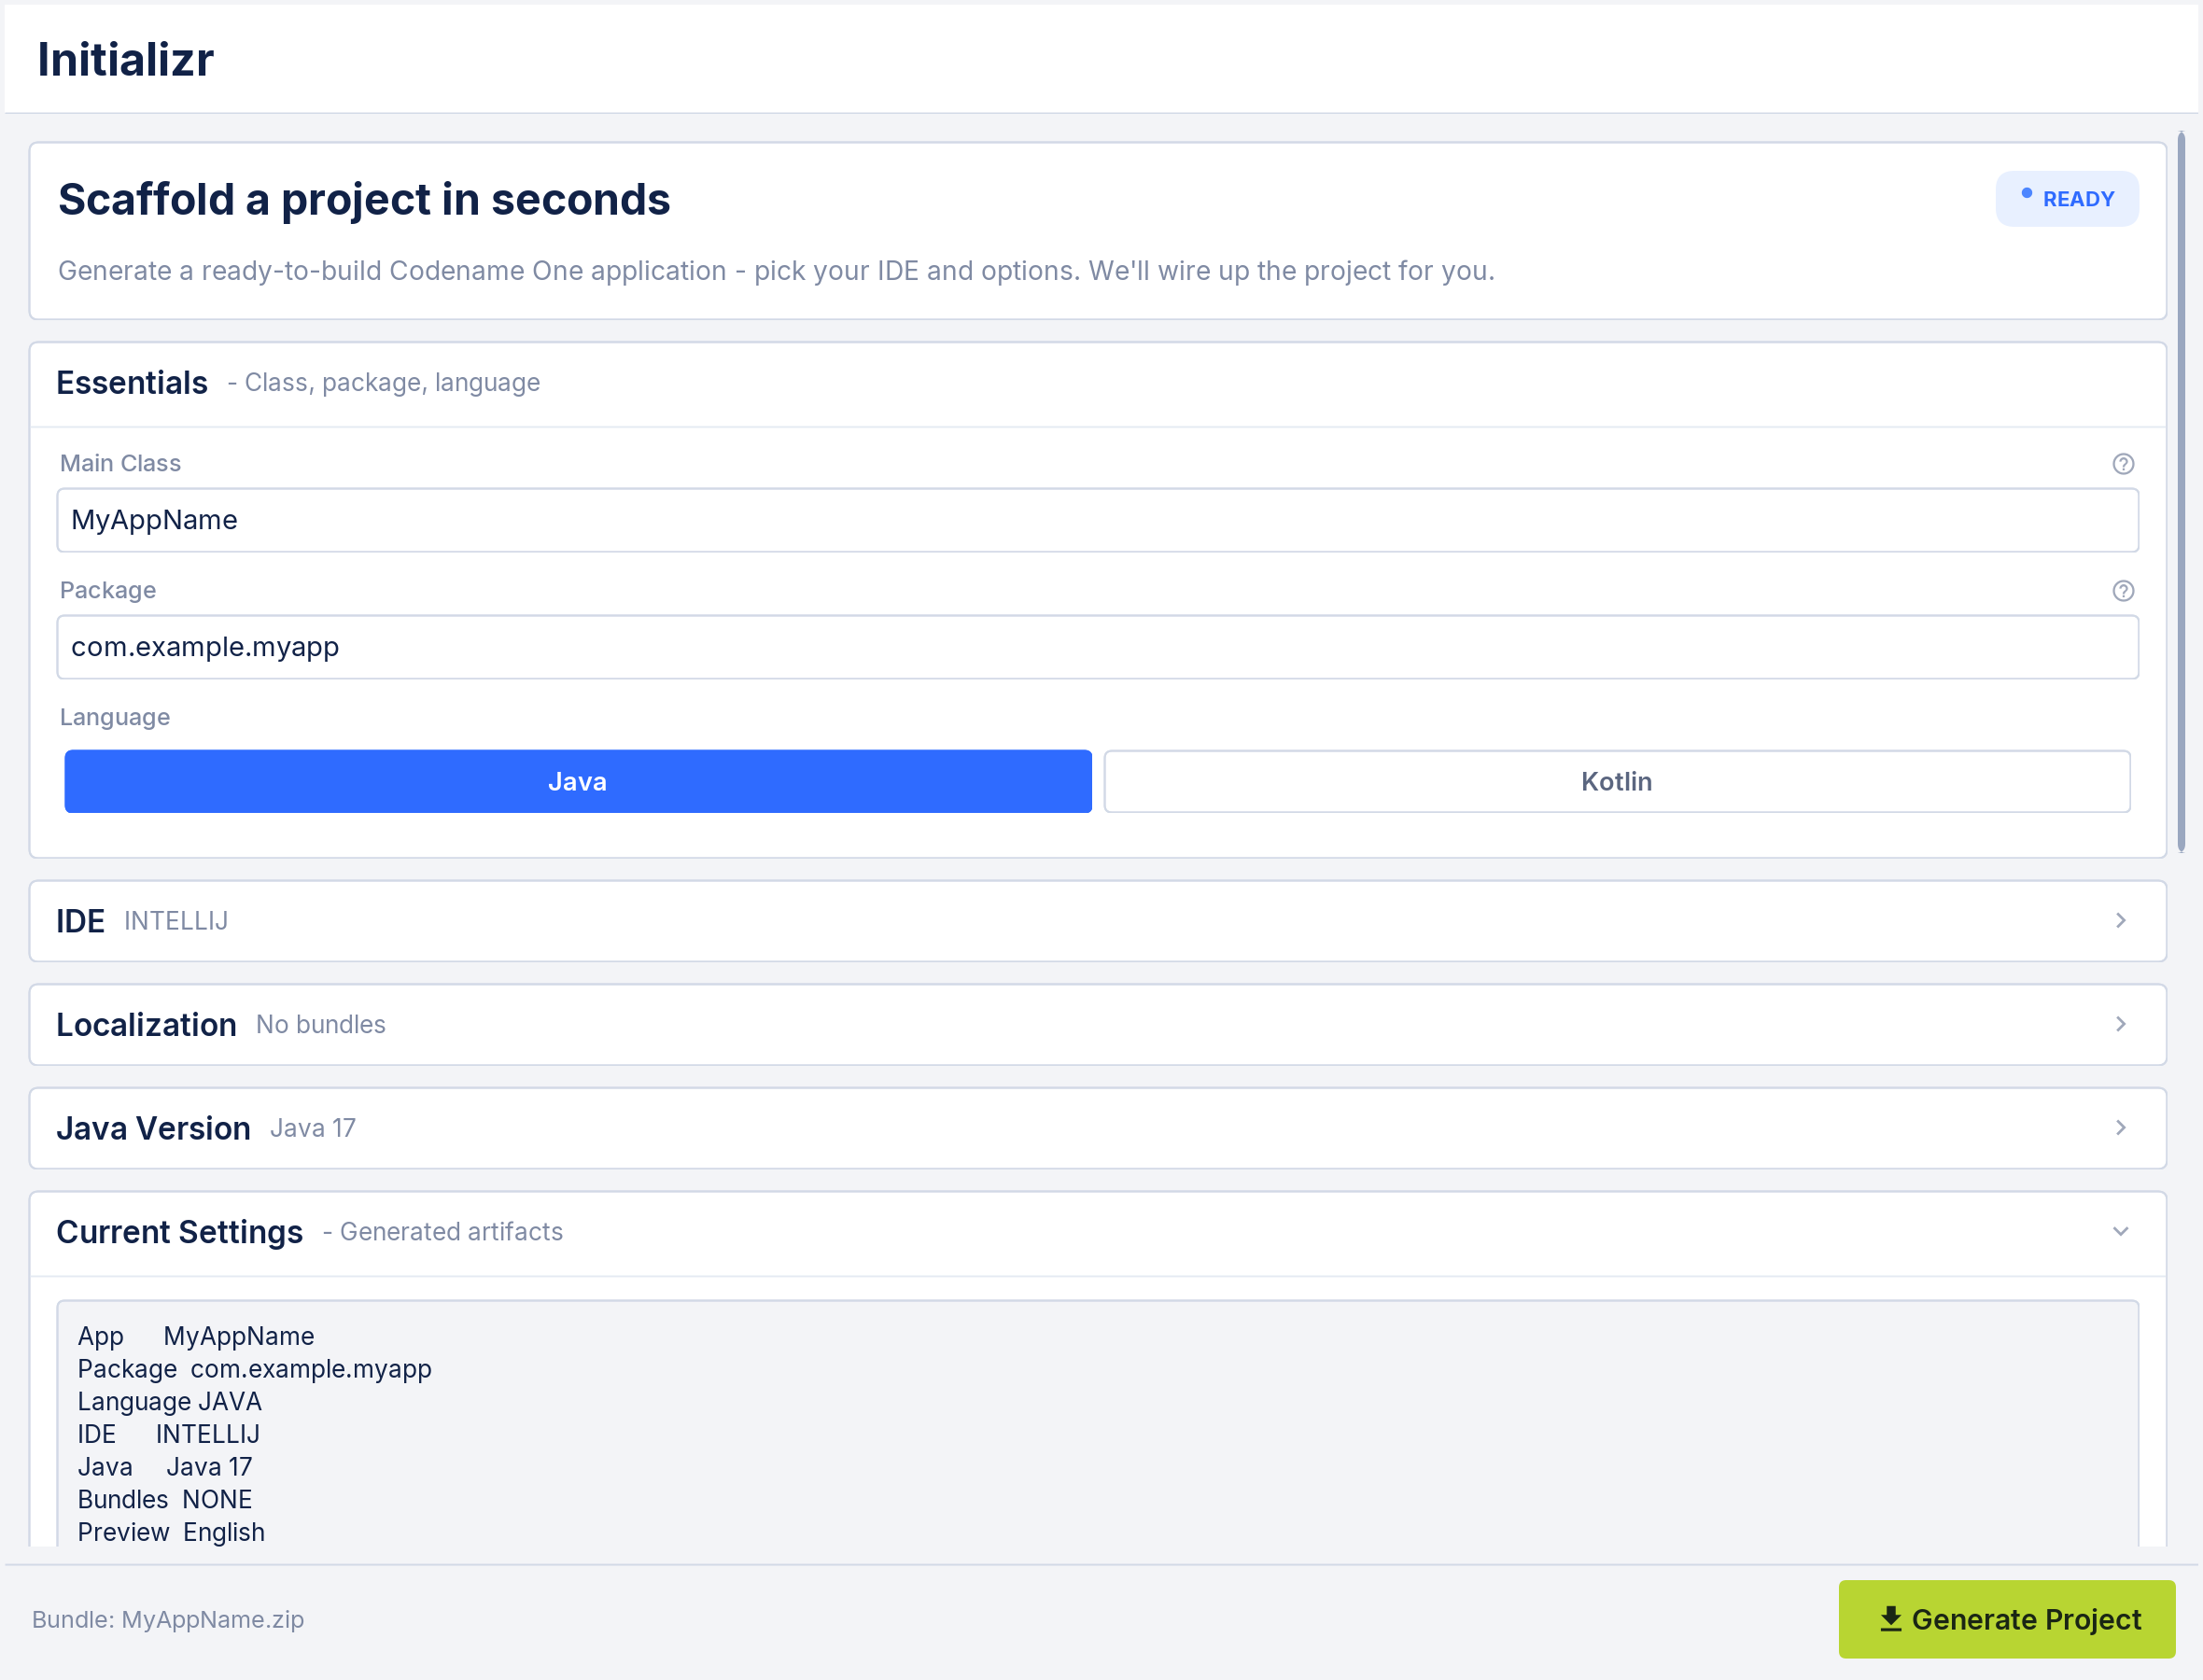
Verify locally
Run the project in the simulator.
Open the generated project root and let the IDE import its Maven modules. Select the Run in Simulator target, then press Run. Initializr supplies that target for IntelliJ IDEA, NetBeans, Eclipse, and VS Code.
Connect the agent
Give Codex or Claude the project context.
Java 17 projects include the Codename One authoring skill in the downloaded project. Open the project in Codex or Claude Code so the agent can use the framework-specific build, UI, testing, and screenshot instructions instead of guessing.
Run the simulator, open its MCP menu, and choose Install in MCP Hosts. The built-in server lets supported hosts inspect the semantic UI tree, enter text, activate components, and call application tools.
Reach a device
Submit a native build.
Sign in to your Codename One account, then select Build Android or Build iOS from the generated IDE targets. Android builds can start immediately. iOS device builds also need Apple signing assets; the certificate wizard guides that setup. The cloud path runs the native toolchain and returns the device binary without requiring a Mac.
First build complete
Install it, then make one real change.
Download the result from the build dashboard and install it on the target device. Change a label, color, or interaction in the shared project, verify it in the simulator, and submit the next build.
If a step fails
Keep the error attached to the step that produced it.
Check the Java and Maven versions, rerun with Maven error output, and use mvn cn1:get-help when the project offers it. Nothing is transmitted until you review and send the report.